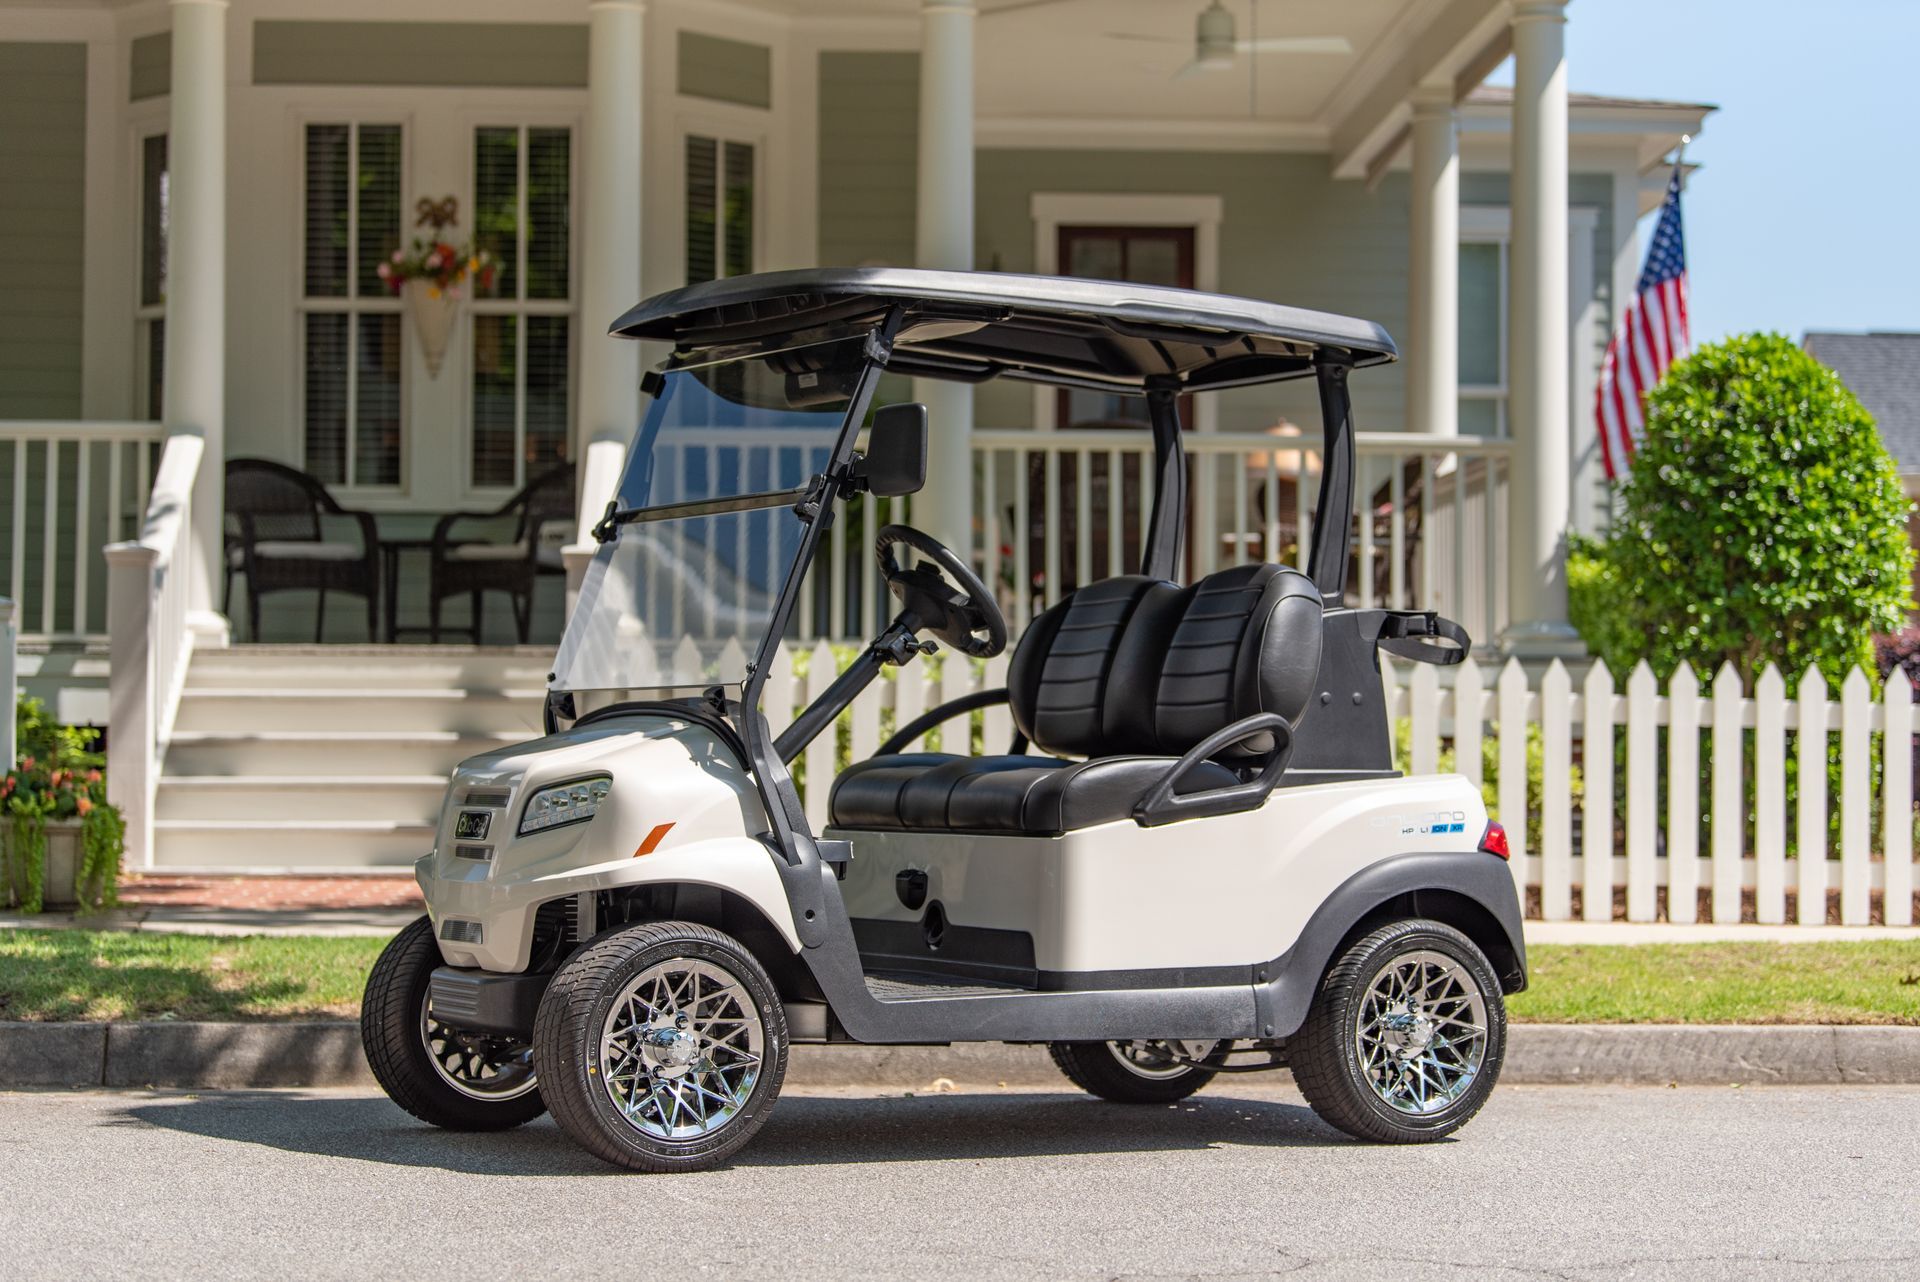
Club Car Vehicle Owner Resources
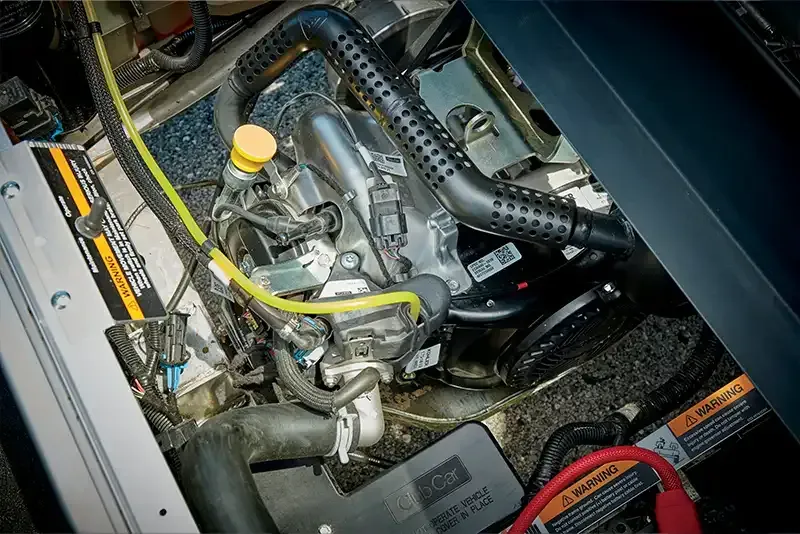
PREPARING YOUR CLUB CAR EFI GASOLINE VEHICLE FOR EXTENDED STORAGE
1. Unload the vehicle so that tires are supporting only the weight of the vehicle.
2. Store the vehicle in a cool, dry place. This minimizes battery self-discharge. If the battery
appears to be weak, have it charged by a trained technician. Use an automotive-type 12-
volt battery charger rated at 10 amps or less.
3. Seal the fuel tank.
a. Fill fuel tank, and, following manufacturer’s directions, add a commercially available fuel stabilizer (such as Sta-Bil®).
b. Disconnect fuel vent line from fuel tank vent nipple.
c. Plug the fuel tank vent nipple so that it is airtight. We recommend using a slip-on vinyl cap.
NOTE: It is not necessary to drain the fuel line.
4. Disconnect battery and spark plug wire(s).
5. Battery should be clean and free of corrosion. Wash top and terminals of battery with a solution of baking soda and water – 1 cup (237 mL) baking soda per 1 gallon (3.8 L) of water. Rinse solution off battery. Do not allow this solution to enter the battery. Let the terminals dry and then coat them with Battery Terminal Protector Spray (CC P/N 1014305).
6. To protect the engine, remove the spark plug and pour 0.5 fl-oz (14.2 mL) of SAE 10 weight oil into the engine through the spark plug hole. Rotate engine crankshaft by hand several times and then install the spark plug and tighten it to 18 ft-lb (24.5 N-m).
7. Adjust tires to recommended tire pressure.
8. Perform semiannual periodic lubrication.
9. Thoroughly clean front body, rear body, seats, engine compartment, and underside of vehicle.
10. Do not engage the park brake. Chock the wheels to prevent the vehicle from rolling.
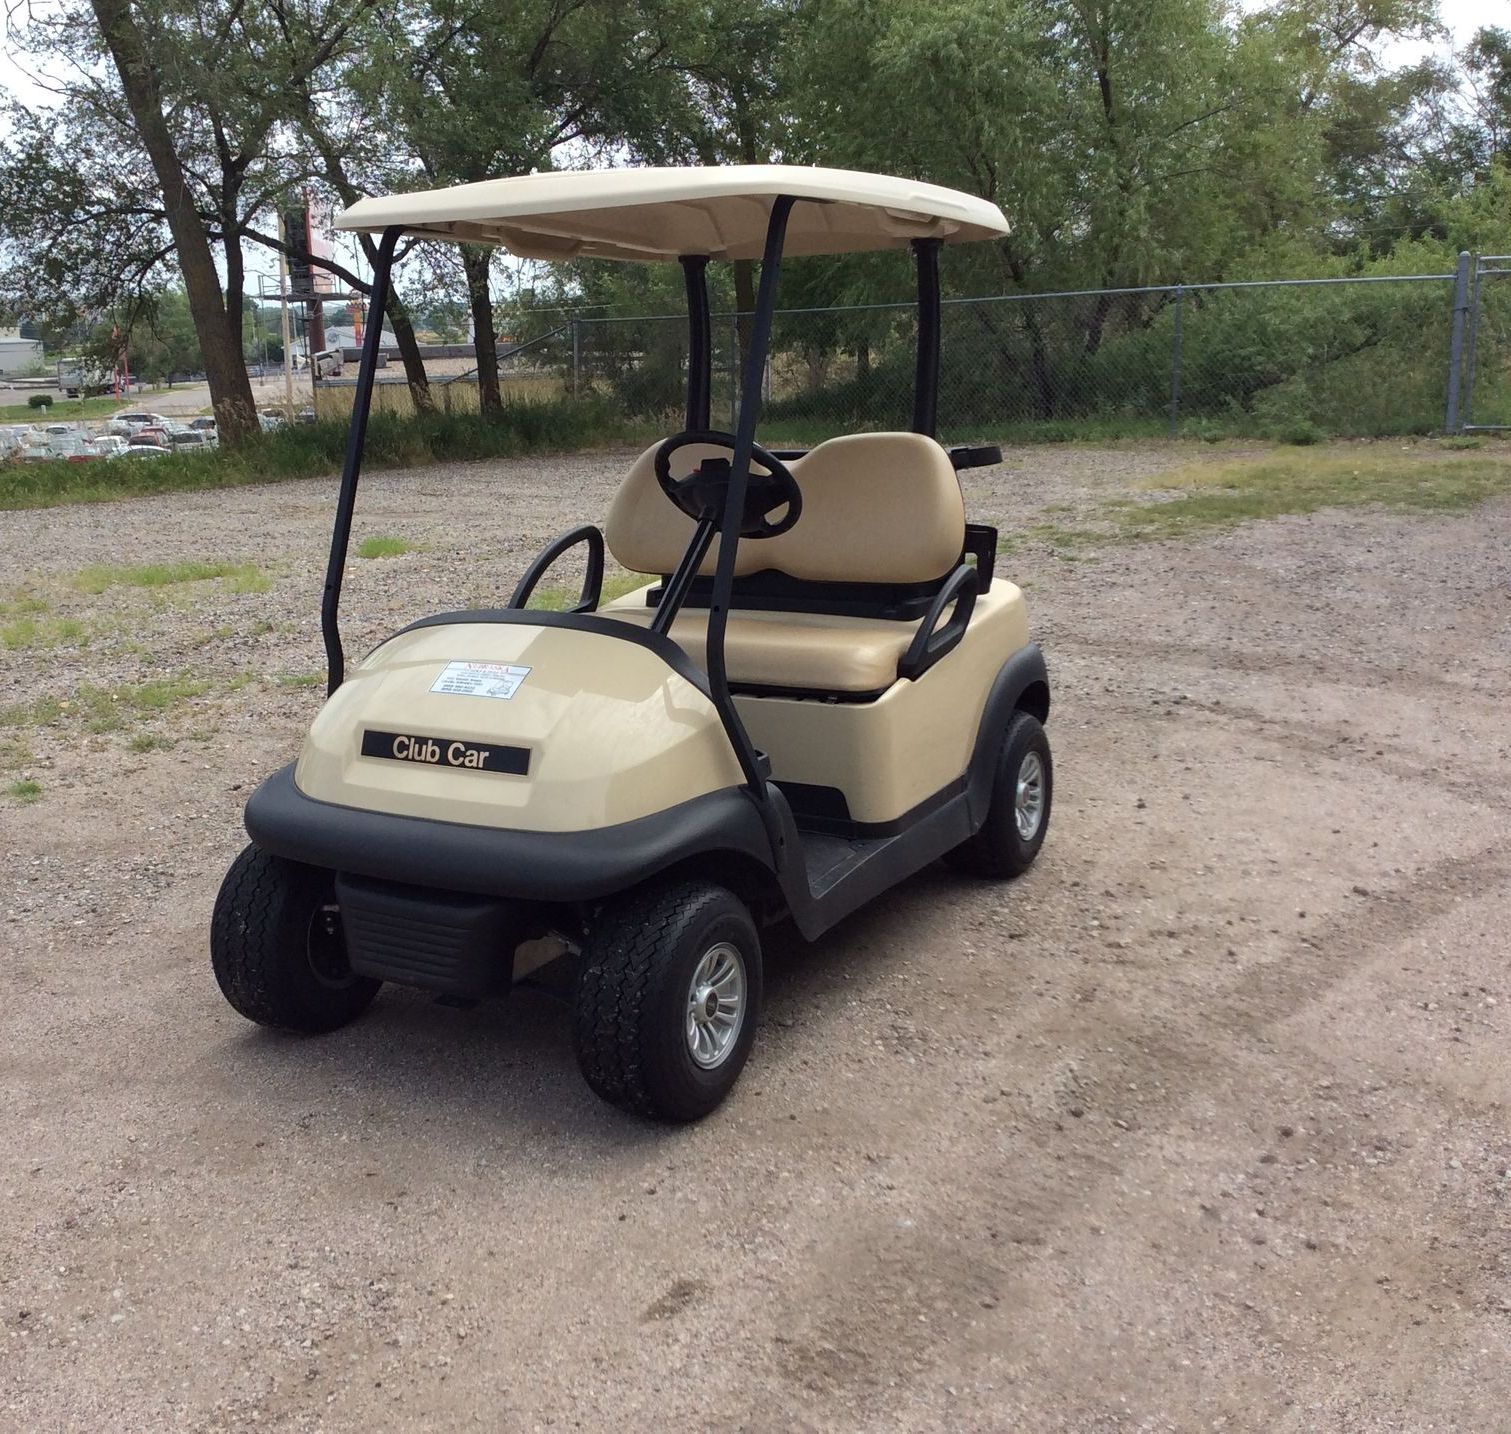
PREPARING YOUR CLUB CAR EFI GASOLINE VEHICLE FOR EXTENDED STORAGE
1. Place the forward/reverse handle in the NEUTRAL position and the neutral lockout cam in the MAINTENANCE position.
2. Turn the fuel shut-off valve to the closed OFF position. Turn the key switch to ON position and run the engine until fuel remaining in the carburetor and fuel lines is depleted and the engine stalls. Turn the key switch to the OFF position and remove the key. Return the neutral lockout cam to the OPERATE position.
3. Loosen but do not remove the carburetor drain screw and drain remaining fuel into a clean container. Pour the fuel from the container into the vehicle’s fuel tank and tighten the carburetor drain screw.
4. Disconnect the fuel vent line from the fuel tank vent barb. Use a slip-on vinyl cap to plug the fuel tank vent nipple so that it is airtight.
5. Disconnect the battery cables, starting with the negative cable.
6. Check tire pressure and inflate to 18-20 PSI or as called for in the owner's manual.
7. Perform all semi-annual lubrications and make sure engine oil levels meet the owner's manual requirements.
8. Clean the battery using a battery acid neutralizer (1 cup of baking soda per 1 gallon of water). Check, clean and treat battery terminal connections with a battery terminal protector spray.
9. Remove the spark plug and pour 1/2 ounce of SAE 10 weight oil into the engine through the spark plug hole. Rotate the engine crankshaft by hand several times and then re-install the spark plug.
10. Do not engage the park brake, but secure the car from rolling.
11. A bag protector should be stored in the DOWN position to reduce the risk of the vinyl in the window panel cracking. The windshield should be stored in the UPRIGHT position.
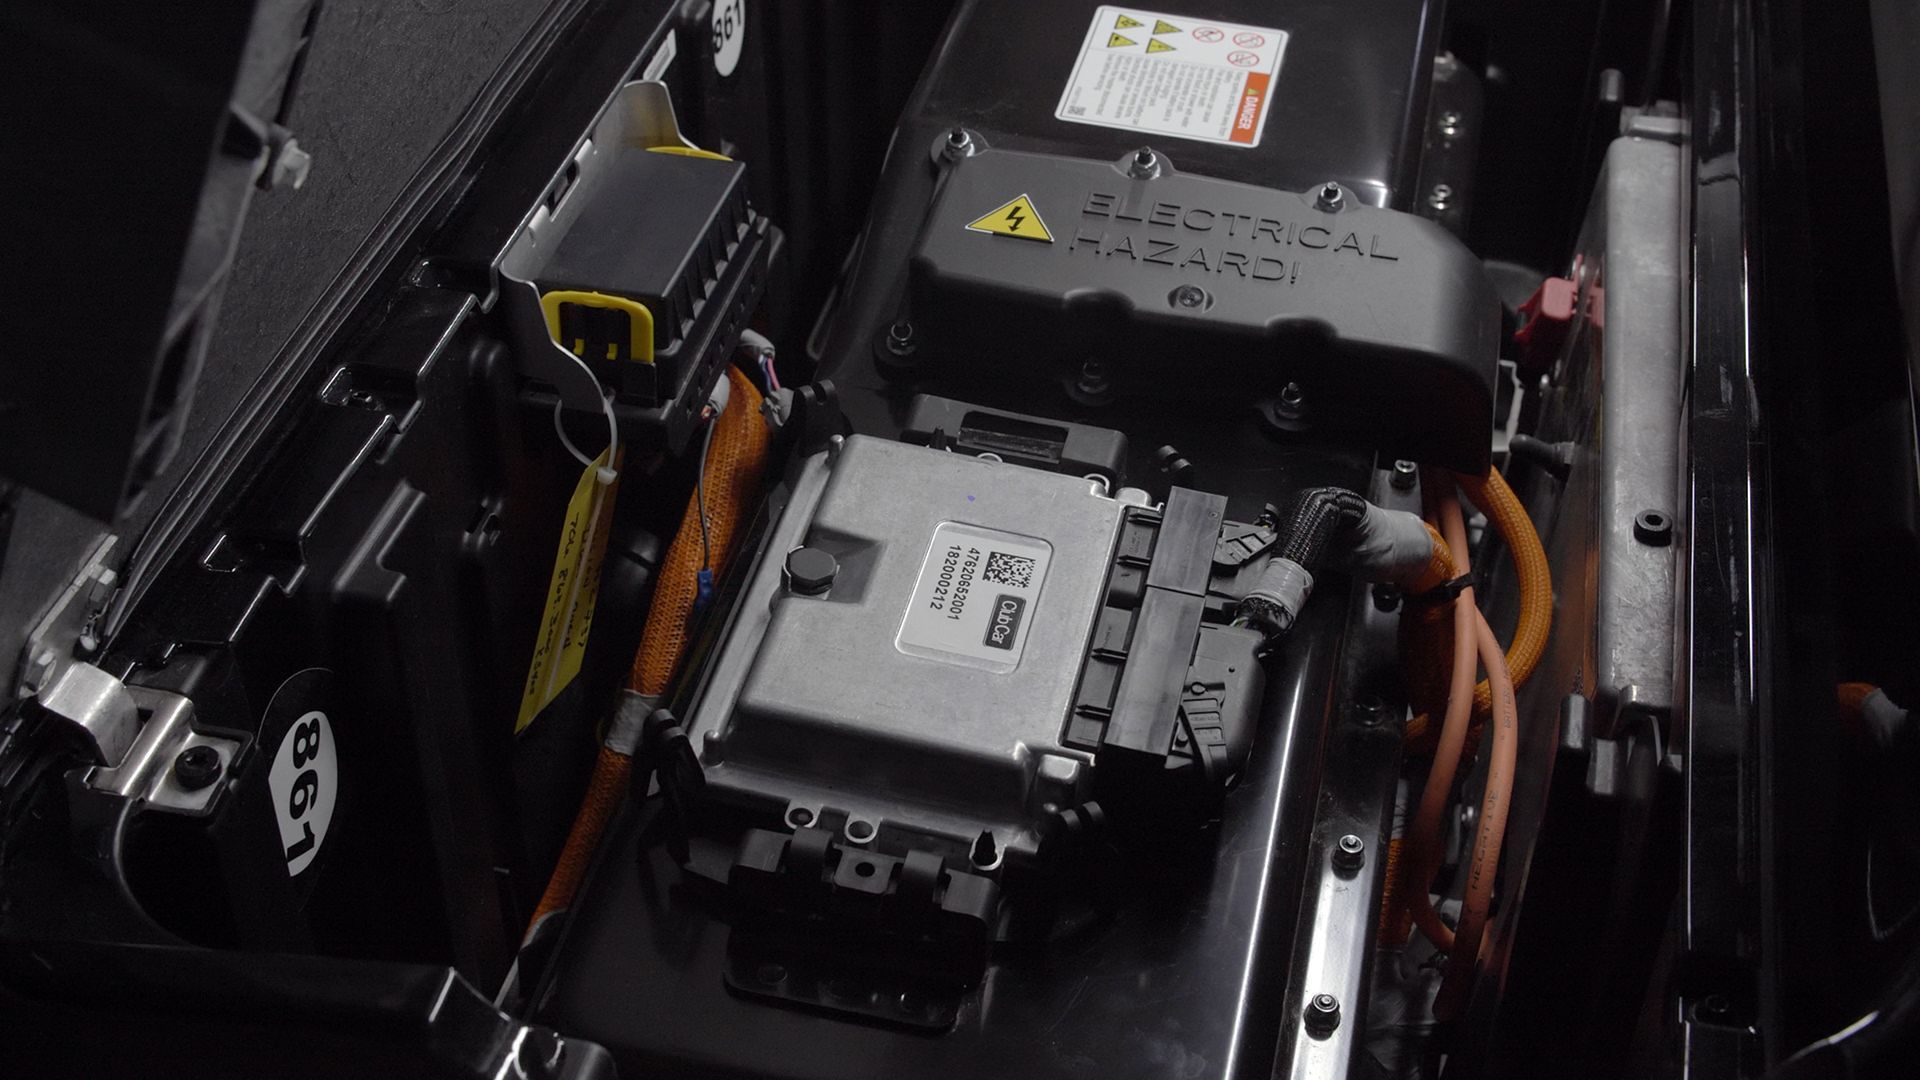
PREPARING YOURCLUB CAR LITHIUM-ION VEHICLE FOREXTENDED STORAGE
BATTERY CHARGING
NOTICE: Incorrect storage can cause battery damage, permanent loss of battery capacity, or cause the battery to be unserviceable. A fully discharged battery put in storage will make the battery permanently unserviceable. Put the battery on charge during extended storage. Do not exceed the storage temperature limits. Do not put a fully discharged battery in storage. Incorrect storage will void the battery warranty.
CHARGING WITH AN EXTERNAL CHARGER
DANGER: Charging the batteries with accessories on can cause a fire and serious personal injury. Turn off all accessories before charging the batteries.
WARNING: The battery charger becomes hot when it is on and can cause a fire, property damage, or serious personal injury. Do not cover the battery charger. Do. Not touch. Make sure that the battery charger has adequate airflow. Use the handle. Keep the battery charger away from clothing and flammable material.
LOOSE CORD CONNECTIONS CAN CAUSE A FIRE. MAKE SURE THAT ALL CORD CONNECTIONS AT THE RECEPTACLE ARE CLEAN AND TIGHT.
The recommended temperature range to charge the battery is from -4° (-20°C) to 113°F (45°C). When the Run/Tow-Stow switch is set to RUN, the battery will charge to 100%.
When the Run/Tow-Stow switch is set to TOW-STOW, the battery will self-discharge to between 30 and 50%.
To charge with an external charger:
1. Turn the key to OFF.
2. Turn off all accessories.
3. Connect the AC cord to the charger.
4. Connect the AC cord to the power source
5. Connect the DC cord to the vehicle charger receptacle.
Note: The vehicle will start to charge in 10 seconds or less. When the vehicle starts to charge:
• ON CHG will show on the dash display.
• The multi-purpose buzzer will operate.
• If equipped, the headlights will flash.
Note: When the battery is fully charged, CHARGED will show on the dash display.
6. Before vehicle operation, disconnect the DC cord from the vehicle charger receptacle.
CHARGING WITH ONBOARD CHARGER
DANGER: Charging the batteries with accessories on can cause a fire and serious personal injury. Turn off all accessories before charging the batteries.
WARNING: Loose cord connections can cause a fire. Make sure that all cord connections at the receptacle are clean and tight.
The recommended temperature range to charge the battery is from -4°F (-20°C) to 113°F (45°C). When the Run/Tow-Stow switch is set to RUN, the battery will charge to 100%. When the Run/Tow-Stow switch is set to TOW-STOW, the battery will self-discharge to between 30 and 50%.
To charge with an onboard charger:
1. Turn the key to off
2. Turn off all accessories
3. Connect the AC cord (1) to the power source.
Note: The vehicle will start to charge in 2 to 10 seconds.
When the vehicle starts to charge:
• ON CHG will show on the dash display.
• The multi-purpose buzzer will operate.
• If equipped, the headlights will flash.
Note: When the battery is fully charged, CHARGED will show on the dash display.
4. Before the vehicle operation
4. A Disconnect the AC cord from the power source
4 .B Retract the AC cord
EXTENDED STORAGE PREPARATION
CAUTION: Extended storage of the vehicle with the run/tow-stow switch set to run and the battery charger connected will damage batteries and reduce battery performance and life.
NOTICE: Incorrect storage can cause battery damage, permanent loss of battery capacity, or cause the battery to be unserviceable. A fully discharged battery put in storage will make the battery permanently unserviceable. Put the battery on charge during extended storage. Do not exceed the storage temperature limits. Do not put a fully discharged battery in storage. Incorrect storage will void the battery warranty.
The recommended extended storage temperature range is from -4°F (-20°C) to 113°F (45°C).
To prepare your vehicle for extended storage:
1, Turn off all electronic accessories.
2. Set the Forward / Neutral / Reverse control (FNR) to N.
3. Turn the key to OFF.
4. Remove the key. Keep the key in a safe area.
5. Put chocks against the wheels. Note.' Do not engage the park brake.
6. Remove all cargo and personal items.
7. Set the Run/Tow-Stow switch to TOW/STOW. Note: Visage remote monitoring will operate with the RunTow-Stow switch set to TOW/STOW.
8. Keep the vehicle in a cool and dry area.
9. Adjust pressure in each tire to recommended tire pressure.
10. Clean the vehicle.
11. Connect the battery charger.
Note: When the Run/Tow-Stow switch is set to TOW/STOW, the battery will self-discharge to between 30 and 50%. Keep the battery charger connected to during extended storage to maximize the life of the battery.
Note: If AC power is disconnected while in extended storage, the vehicle will go into sleep mode. When AC power connects, the vehicle will cycle the state-of-charge (SOC) between 30 and 50%.
RETURN TO SERVICE FROM EXTENDED STORAGE
1. Set the Run/Tow-Stow switch to RUN
2. Fully charge the battery
3. Set the Forward/ Neutral/ Reverse control (FNR) to N
4. Adjust the pressure in each tire to the recommended tire pressure
5. Have a trained technician lubricate the vehicle
6. Do a daily pre-operation safety checklist
7. Do a vehicle performance inspection
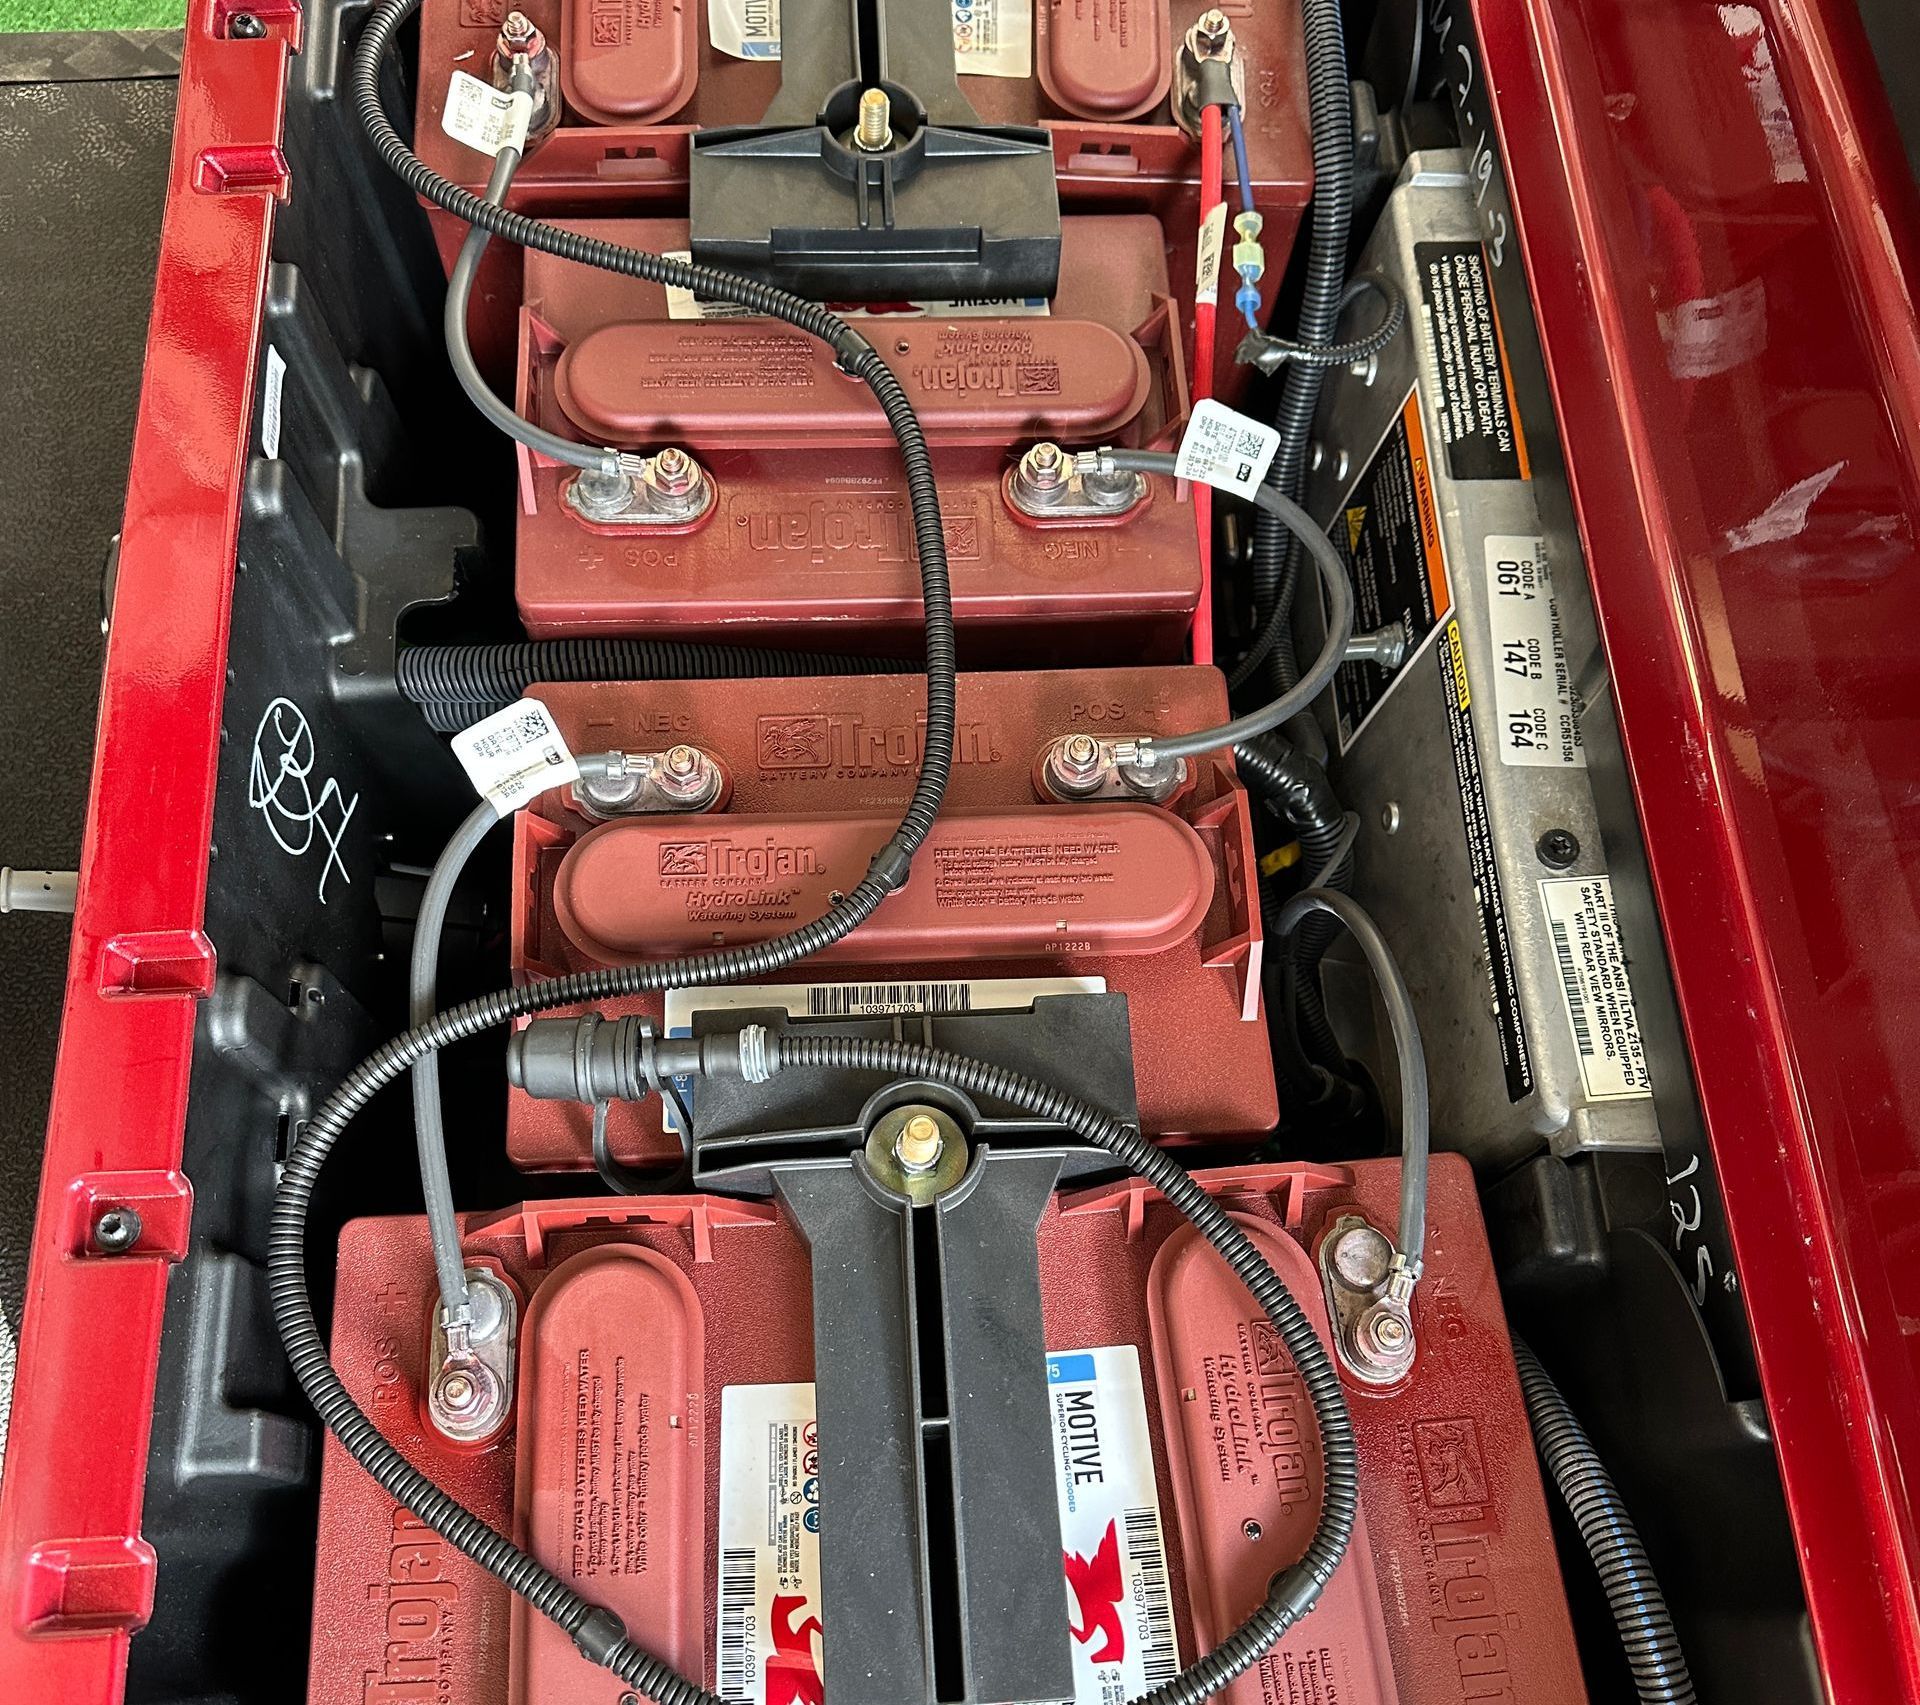
PREPARING YOUR CLUB CAR FLA ELECTRIC VEHICLE
Make sure the vehicle is plugged in and that the proper electrolyte level is maintained throughout the entire storage period. Perform the following procedure at least two weeks prior to long-term storage to ensure proper mixing of water and electrolyte. It takes approximately five charge cycles with a minimum of 10 EUs removed to properly mix the water with electrolyte. DO NOT water batteries immediately prior to storage. This will not provide sufficient charge time to mix the water with the electrolyte. Freezing can occur when batteries are stored in this condition.
1. Two weeks prior to storage: Check the water levels in each battery cell. If water is required, fill the cells to cover the plates, charge the set and use distilled water to top off each cell. Electrolyte levels should be from 1/2-inch (13 mm) above plates to 1/4-inch (6 mm) below the level indicator. (See illustration.)
2. Immediately prior to storage:
A. Turn the key switch to the OFF position, remove the key and leave the forward/reverse switch in the NEUTRAL position during storage.
B. Power down all accessories.
C. Place the tow/run switch in the TOW position. Since the battery warning light does not illuminate with the tow switch in TOW, do not use the warning light as an indication of the batteries’ charge state.
D. Clean the battery packs, tops and terminals using a battery acid neutralizer (1 cup baking soda per 1 gallon water). Check, clean and treat battery terminal connections with a battery terminal protector spray.
E. Tighten all battery cable connections per the owner's manual.
F. If your vehicle is equipped with a Single Point Watering System, place the fill tube on top of the battery. This allows any water in the tube to drain back into the batteries.
G. A bag protector should be stored in the DOWN position to reduce risk of the vinyl in the window panel cracking. The windshield should be stored in the UPRIGHT position.
3. Plug the battery charger into the car. Ensure the charger operates by observing the movement of the charger's amp meter or LED lights indicating charger is on. Leave the charger plugged in during storage. The charging system automatically activates the charger when needed.
4. If the battery charger is left plugged in during extended storage, check the electrolyte level and the charger function at least once per month to ensure that proper operation is maintained. To check charger function, disconnect the DC cord (stationary charger) from the vehicle or the AC cord (onboard charger) from the power source and wait five seconds before reconnecting. The charger is functioning properly if the ammeter indicates current (OBC system) or the green battery LED starts flashing (ERIC system).
5. For vehicles equipped with an OBC, if AC power is off for seven or more days, the OBC will not function or charge the vehicle again until it is restarted. To restart the computer:
A. Ensure AC power has been restored.
B. Disconnect the DC cord (stationary charger) from the vehicle or the AC cord (onboard charger) from the power source; wait five seconds and reconnect.
6. Check tire pressure and inflate to 18-20 PSI or as called for in the owner's manual.
7. Perform all semi-annual lubrications.
8. Thoroughly clean the front and rear body, seats, battery compartment and underside of vehicle.
9. Make sure the storage facility has adequate ventilation as called for in the owner's manual.
10. Do not engage the park brake, but secure the car from rolling. Chock the wheels of vehicle since the forward/reverse lever is in NEUTRAL and the vehicle is in TOW position
VDU’s
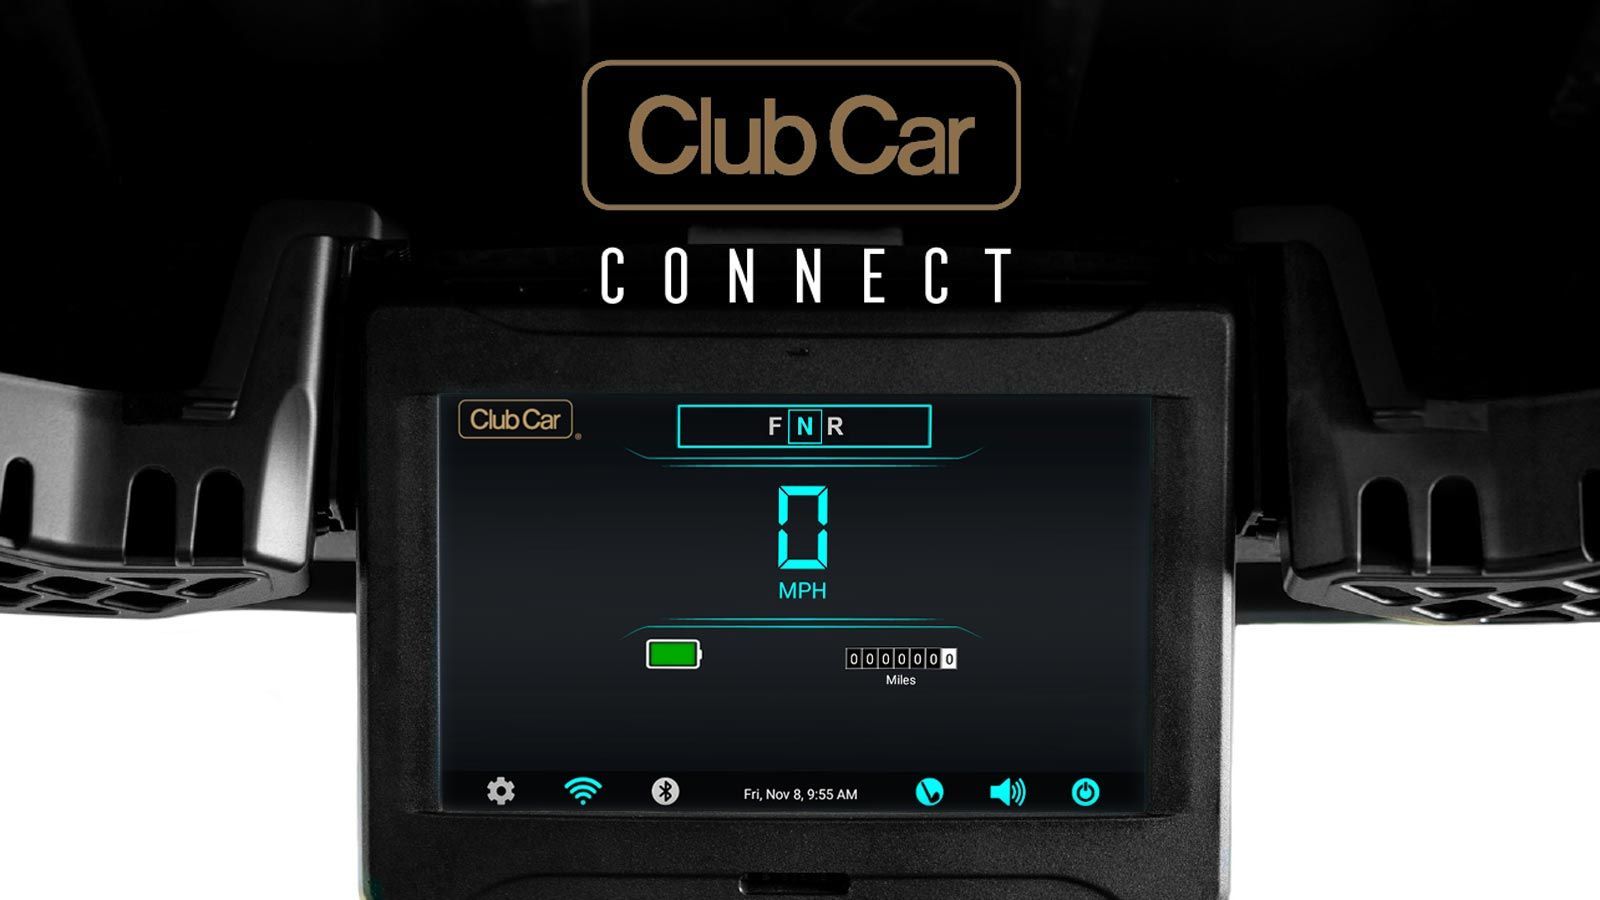
If cars are stored in a cart barn that is safe from the elements and above freezing temperatures it is safe to leave the VDU’s on the cars.
Sites that have a cart storage area that is not fully enclosed and is susceptible to the elements including below freezing temperatures; please remove the VDU’s from the cars and store in a warm and secure location. For easy installation at the beginning of season it’s recommended that the VDU’s are labeled with the corresponding car number from which it was removed. Do not affix a label or tape to the touch screen!
If cars will be used for winter activities; please remove the VDU’s and store in a warm and secure location. Please contact your C.A.M. prior to removal of the VDU’s so Anti-tamper can be disabled.
900 MHz Network Repeaters*
Courses using a 900 MHz solar repeater will need to have the batteries removed and stored on a warm and secure location.
* Please contact your Connected Account Manager if you are unsure if your course has a solar repeater.

How to winterize lithium golf cart batteries
By Trojan Battery Company on Nov 10, 2025
Get your golf cart batteries ready for winter
Old Man Winter is coming, and winterizing golf carts is a topic again in the colder regions. As lithium battery usage grows, more people have questions about how to store a battery for winter.
We asked Trojan lithium experts about how to winterize a lithium battery and how lithium batteries work in winter. They helped us set the record straight about what you should and shouldn’t do when the temperature starts dropping.
Should I charge a lithium battery before storing it?
To properly store a lithium battery for cold temperatures, start with charging. You should always charge your battery to 100% before long-term storage.
Why should I store my lithium-ion battery fully charged?
A full charge helps minimize the effects of the slow power drain that occurs with every lithium battery, even in storage. The internal battery management system (BMS) continues to pull milliamps, even when the battery is in storage mode.
A charge level of 100% keeps the battery's software in sync with its charge levels.
Fully charged batteries will be ready for operating in cold temperatures withing Trojan’s rated operating range.
For best results, maintain a 100% charge throughout the storage period. Check your Trojan BMS app once a month or so and charge the battery as needed.
Disconnect your charger once it reaches 100%. Avoid leaving the battery charging needlessly during long-term storage.
“Even if the battery does not power on, it still pulls power. Typical discharge rates can be 1 to 3 amps per month. When it gets extremely cold, that rate goes up.” Richard Sanders, Director of Lithium-ion Sales
Can I charge my lithium battery when it's cold?
The most important factor for charging your battery in the cold months is cell temperature. The cell temperature usually reflects the ambient temperature of the battery's storage location.
This is important. Lithium batteries with the appropriate safety features will not charge if the cell temperature is below 32 degrees Fahrenheit.
If you store the battery in a heated or climate-controlled space between 32°F and 85°F, it's not an issue. Otherwise, the cells need to warm up before they can charge.
How can I warm up the lithium battery cells?
Move the cart to a warmer place.
Drive the golf cart to warm up the battery.
If the battery has a built-in heater, turn it on.
What's the best way to store a lithium battery for winter?
Keeping the battery in a climate-controlled area is best practice when temperatures drop significantly. A golf cart kept outside in freezing temperatures will lose battery power faster. Extreme temperatures can lower the efficiency of lithium batteries over time.
Ideal storage temperature for lithium batteries is between 32 degrees Fahrenheit and 80 degrees Fahrenheit.
Lithium battery storage tips:
If storing in a climate-controlled area, make sure the battery is in storage mode and safely disconnect it from the cart.
If you leave the battery in the cart, put it in storage mode. Also, set the cart to TOW mode. This helps reduce extra power drain.
"If you can't bring the battery inside, the most important thing is to charge it to 100%. Then, put the car in TOW mode. You should be in good shape." - Richard Sanders, Director of Lithium-ion Sales
Can I use a lithium battery in the cold?
Yes, Trojan lithium batteries work well in cold weather.
The rated operating temperature range for Trojan lithium batteries is -4°F to 140°F (-20°C to 60°C).
Why lithium batteries are better for winter storage
Cold weather affects how batteries perform. If you're storing power systems over the winter, this matters. All batteries lose power in freezing temperatures. However, lithium batteries work better in the cold than lead-acid batteries.
Lead-acid battery types struggle in low temperatures. They lose more capacity and can freeze if discharged, which may cause permanent damage. Lithium batteries work better in the cold and are less likely to freeze. This makes them a safer and more reliable option.
Some lithium batteries come with built-in heaters. These allow safe charging in freezing conditions, which adds another layer of protection.
Lithium lasts longer and works better overall. This gives you peace of mind when storing equipment or using it all year.
If you are getting ready for winter, consider using a lithium-ion battery. The Trojan Lithium OnePack is a great option. They offer longer life, more power, and stronger performance when it matters most.

